
How To Control Any Ceiling Fan In HomeKit
When you buy through links in this article, I may earn an affiliate commission. Learn More.
Ceiling fans remain a popular way to keep cool, largely because they are so cheap to operate, but they also assist in both heating and cooling efficiency by circulating the air in the room. For fans of Apple’s HomeKit platform, it’s natural to want to be able to control as many appliances as possible through Siri and automation rules, and ceiling fans are a natural fit.
Unfortunately, the options on the market for fan controllers, or indeed fans themselves, that support HomeKit natively are a bit limited. All is not lost, though. There are a few ways of approaching this problem, each with pros and cons depending on your level of technical comfort and budget.
What Are The Options?
Getting control of your ceiling fans in HomeKit can be achieved in three main ways.
Obviously if you don’t have ceiling fans yet, then Option 1 is probably the way to go, although you may find it cheaper and not much more complicated to buy simple AC powered fans and go with Option 2.
Now, it’s important to note with options 2 and 3 that it depends on how your fans are powered. There are two types, AC and DC control.
AC fans are your old-school types, with either a regular speed control knob on the wall, or a pull cord to turn them on and off. These ones use a rotating knob control to vary the power to the motor, thus changing the speed. Option 2 will work with these. Option 3 will work if your AC fans have remotes.
NOTE: AC Fan controllers use different methods to vary the power to the motor, and motors draw a lot more power than lights - at least on start-up. For this reason, it’s a bad (and potentially dangerous) idea to use a smart dimmer switch to control a ceiling fan.
DC fans are those with remote controls. They have a receiver which converts the AC input to DC voltage to control the motor speed, which is handled exclusively by the control receiver. In many cases turning the power off to the fan simply resets the controller to ‘off’, so even using a manual switch won’t help as the fan will default to off when you turn on the switch. Only option 3 will work with these.
Let’s take a look at each of these options in detail.
Option 1: Replace with HomeKit fans
At the moment, only one ceiling fan manufacturer is producing products with native HomeKit support; Hunter, including their premium brand Casablanca.
Even though you only have a single manufacturer to choose from, If buying new fans is on the cards you still have a huge selection of sizes and styles in their range. Here are a few variations as an example, click the images for more info:

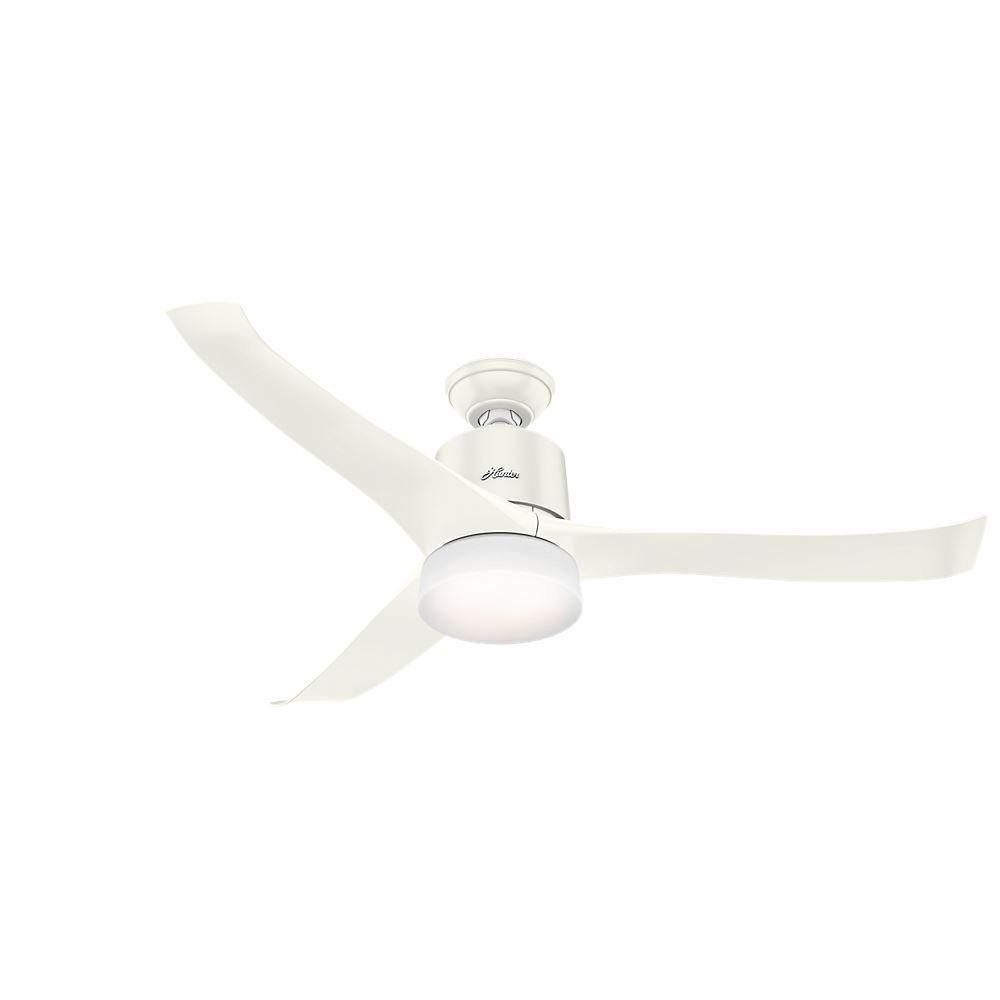
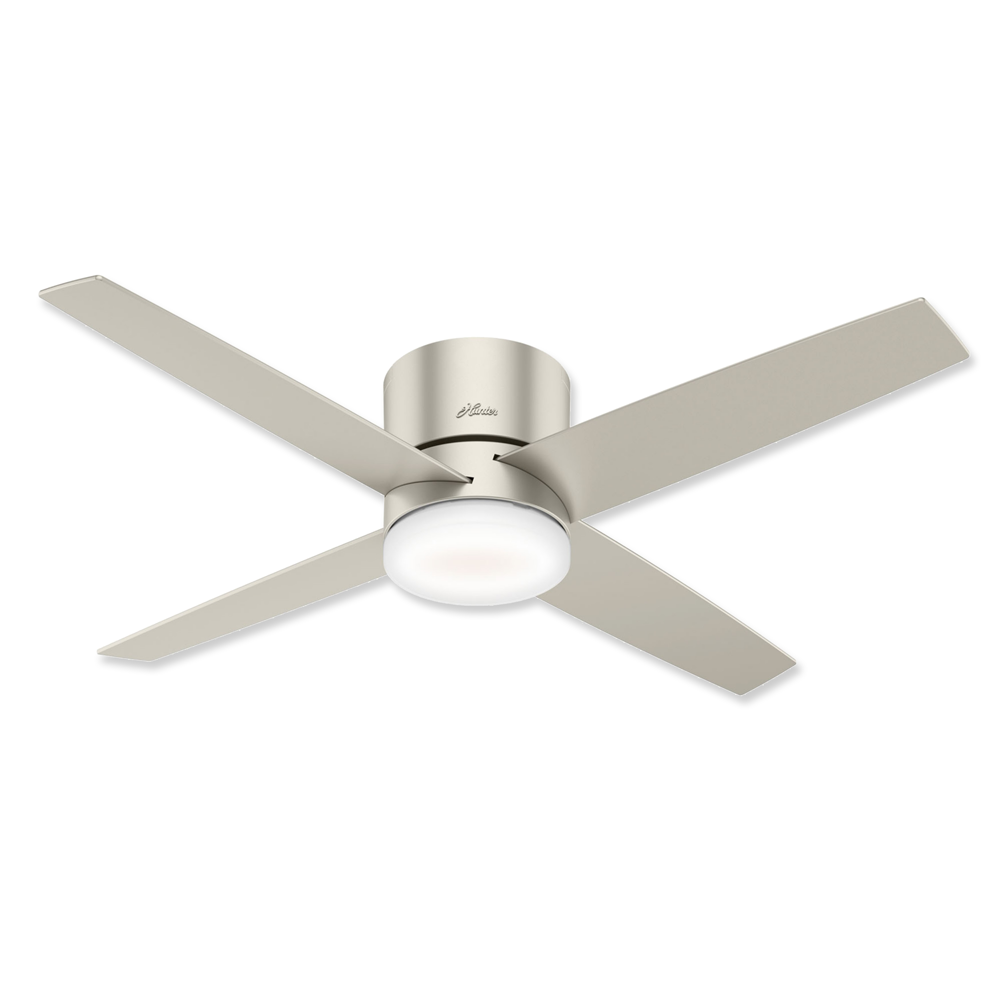

Hunter is a pretty big ceiling fan brand with a 135 years of experience behind them. All these fans come with built in LED lights and low noise, reversible motors and the control receivers are preinstalled to make installation easier. Not only do they support HomeKit, but Amazon Alexa and Google Assistant as well, so if you’re hedging your bets that’s a bonus. Oh, and they come with a regular remote control - As a backup, of course, since we’re trying to avoid those here.
Option 2: Use a smart switch
When we say ‘smart switch’ in this case it could be either a replacement for an existing in-wall control, or it could be a built-in switch module that is wired into the fan itself. Both achieve the same thing: regulating the AC output to the fan motor.
Use a wall switch
If you’re replacing the the existing wall control for your AC fan (only AC fans can be controlled this way) you can opt for a regular smart switch. There are several HomeKit compatible switches to choose from, such as the Eve Light Switch, so you can select one that works for you. Keep in mind that a switch will only give you on/off functionality (0% or 100% speed), unless you use a speed controller.
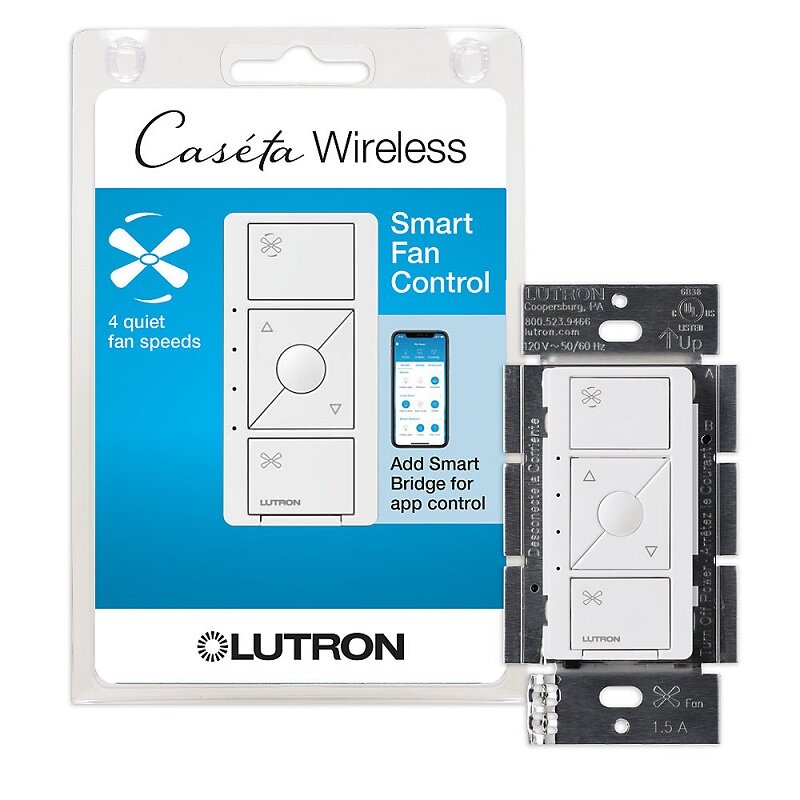
There are now a few options for Apple HomeKit compatible speed controllers on the market, the top choice in terms of quality and reliability would be the Lutron Fan Speed controller. This device acts as a direct smart replacement for your regular fan wall control.
The Lutron device gives you a choice of 4 fan speeds, and you can pair it with their Pico remotes if you really want a remote control. To be fair if you’re using AC fans you probably don’t have one already, so there’s that.
Like their smart switches, the Lutron Fan Control uses their proprietary Clear Connect technology to communicate, so you’ll need a Casetta Wireless Bridge to connect it to HomeKit...or just about any other smart platform you can think of. It does give you excellent reliably and response time, though, and the option to add other smart switches or smart blinds later using the same technology.
Lutron is at the top end of the price scale (deservedly so) so if you want something cheaper the new Meross 4 speed fan dimmer combo switch handles AC fans and dimmable bulbs in the one switch panel and rates fairly well.

Replacing a wall controller, on the other hand, could lead to overheating if your fan model needs a voltage regulator at the wall control. Using a purpose-build fan wall controller is always a better option.
Use an in-fan controller
The other option is to install a Wi-Fi switch/controller in the fan. Obviously, this is substantially more hands-on. You’ll need to be comfortable with electrical wiring and setting up third-party software solutions to provide the interface to HomeKit.
The go-to for this approach is the Sonoff IFAN04. This device offers 3 fan speeds and control for an integrated light as well. Keep in mind that you fan needs to support the output current provided by the IFAN04, per Sonoff:
1-gear (2.5μF) output current is 113mA (120V/60Hz) or 173mA(220V/50Hz); the 2-gear (2.5μF + 3μF) output current is 249mA(120V/60Hz ) or 456mA(220V/50Hz). The 3-gear act as the same performance as original.
The IFAN04 does not support HomeKit natively, so you’ll either need to use Homebridge to act as an interface, or for the tech savvy, replace the firmware on the device with a HomeKit compatible one. This is done by flashing the device with HAA (HomeKit Accessory Architect).
Setting up Homebridge is actually the easier option for most people. While it is a bit of extra work it opens up so many possibilities that I really recommend it to anyone interested in getting the most out of HomeKit. You can do it fairly easily these days by following my guide on installing Homebridge using HOOBS.
Sonoff uses the ewelink service for their app, so once you’ve wired up the IFAN04, you can use the ewelink Homebridge plugin to get HomeKit support up and running.
Option 3: Use a third party remote
If your fans have remote controls, you can look at a third-party controller that can talk to both the fan and HomeKit. DC powered fans will need to go this route as you can’t bypass their motor controller in most cases.
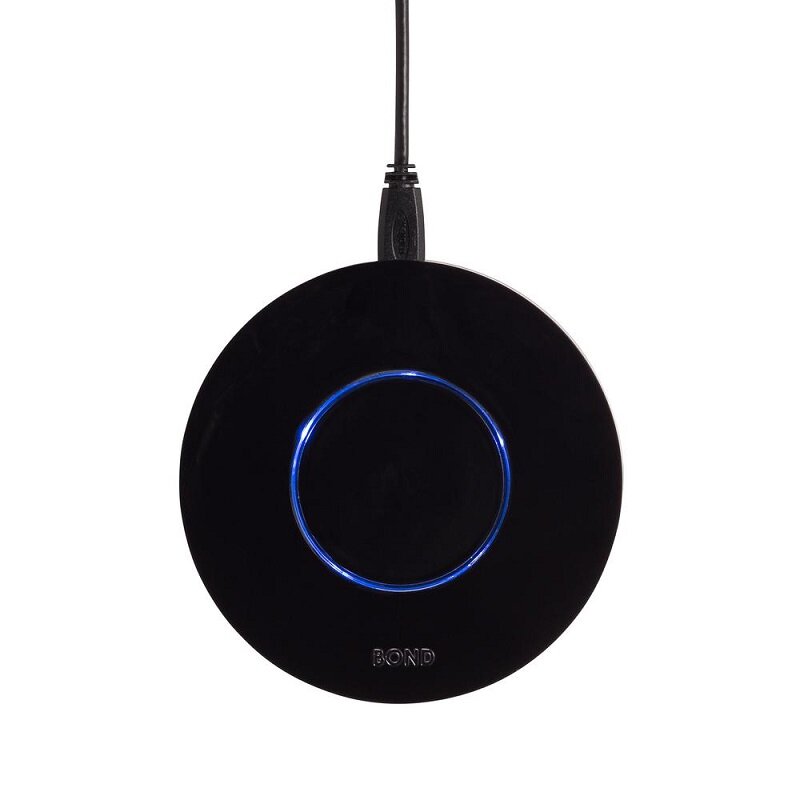
A nice option here is the Bond universal controller. This supports both RF (radio frequency) and IR (infra-red) control and can be programmed from your existing remote, so it should support pretty much any fan that has a remote control.
Does Bond work with HomeKit?
The Bond bridge doesn’t support HomeKit natively. They’ve tried but Apple currently doesn’t support one-way radio controllers like this, so you’ll need to use Homebridge to connect it.
Setting up Homebridge is a bit of extra work, but it’s so useful you’ll inevitably find yourself using it for other things. You can do it fairly easily these days by following my guide on installing Homebridge using HOOBS.
I’d recommend using the homebridge-bond plugin of the several options available. This one has solid support and is easy to setup.
Once you’ve done that (or if you have Homebridge already) this is actually a pretty easy solution. As it simply learns the remote control signals from your existing remote you can use it with any fan, AC or DC, that has one.
One Bond should be enough to cover the whole home, so long as your fans are RF controlled (IR requires the bond to be in the same room). As a bonus, it also supports gas and electric fireplaces with remotes, and Somfy smart shades as well.
Benefits Of Smart Fan Control
The convenience benefits of smart fans are straightforward; being able to turn them on and off via your phone or a voice command makes it easy to do from wherever you are at the time and helps to avoid needing to store (and find) all those extra remote controls.
But connecting to a smart home platform takes it to the next level. Being able to tie them into automation rules is particularly relevant given they can be associated with heating and cooling systems, smart shades, and sensors for windows, temperature and humidity. After all, when your home is able to take logical actions on its own, then we start to see the true potential of smart homes.
Frequently Asked Questions
-
AC fans use a couple of methods to control the fan speed. If you have a pull card model then this is all done at the fan itself, but if you have a wall control you need to be careful.
AC fans use either capacitors to regulate the voltage to the fan motor, or they use a solid-state voltage regulator that allows to analog speed control between 0% and 100%.
-
Ceiling fans that offer native HomeKit support are limited to select models from the Hunter Fan Company using their SIMPLEConnect technology.
Additionally, the upcoming SmartMi Air Circulator fan is slated to support HomeKit as well.
-
Providing you can integrate your ceiling fan with Apple’s HomeKit platform, Siri will be able to control it. This article covers the various options you have to acheive that, from buying compatible ceiling fans, using a third-party remote, or wiring in smart fan controls that can be used with HomeKit.
-
Generally this is not a good idea, If your fan has a remote control, then a physical switch isn’t going to help it on for you, you’ll still need to use the remote.
Older manual controls have special voltage regulators to prevent the fan motor overheating, so it can be risky to use a smart switch with these.
You could use a smart switch for models that have a pull cord for speed control. Cutting the power will simply disconnect the speed controller and turning it on will return it to its last speed.
Summary
Whether you have old AC powered pull-cord fans or are putting in new fans for the first time, there are options that will give you HomeKit fan control one way or another. Even with the limited fan controllers that have native HomeKit support, third party switches and remotes can be configured to work with your smart home using tools like Homebridge, no matter what sort of fans you have.
It’s worth doing, not only for convenience, but because getting them into your automations can offer a range of smart home benefits, get your AC and heating to work better, and allow your home to adjust things to your comfort automatically based on automations you create around who is at home and when, as well as using inputs from other HomeKit sensors like temperature, humidity, and air quality.


So you want smart switches, but don’t have a neutral wire? This guide offers a variety of no neutral switches and other options to solve this.