Getting the most out of smart light strips
When you buy through links in this article, I may earn an affiliate commission. Learn More.
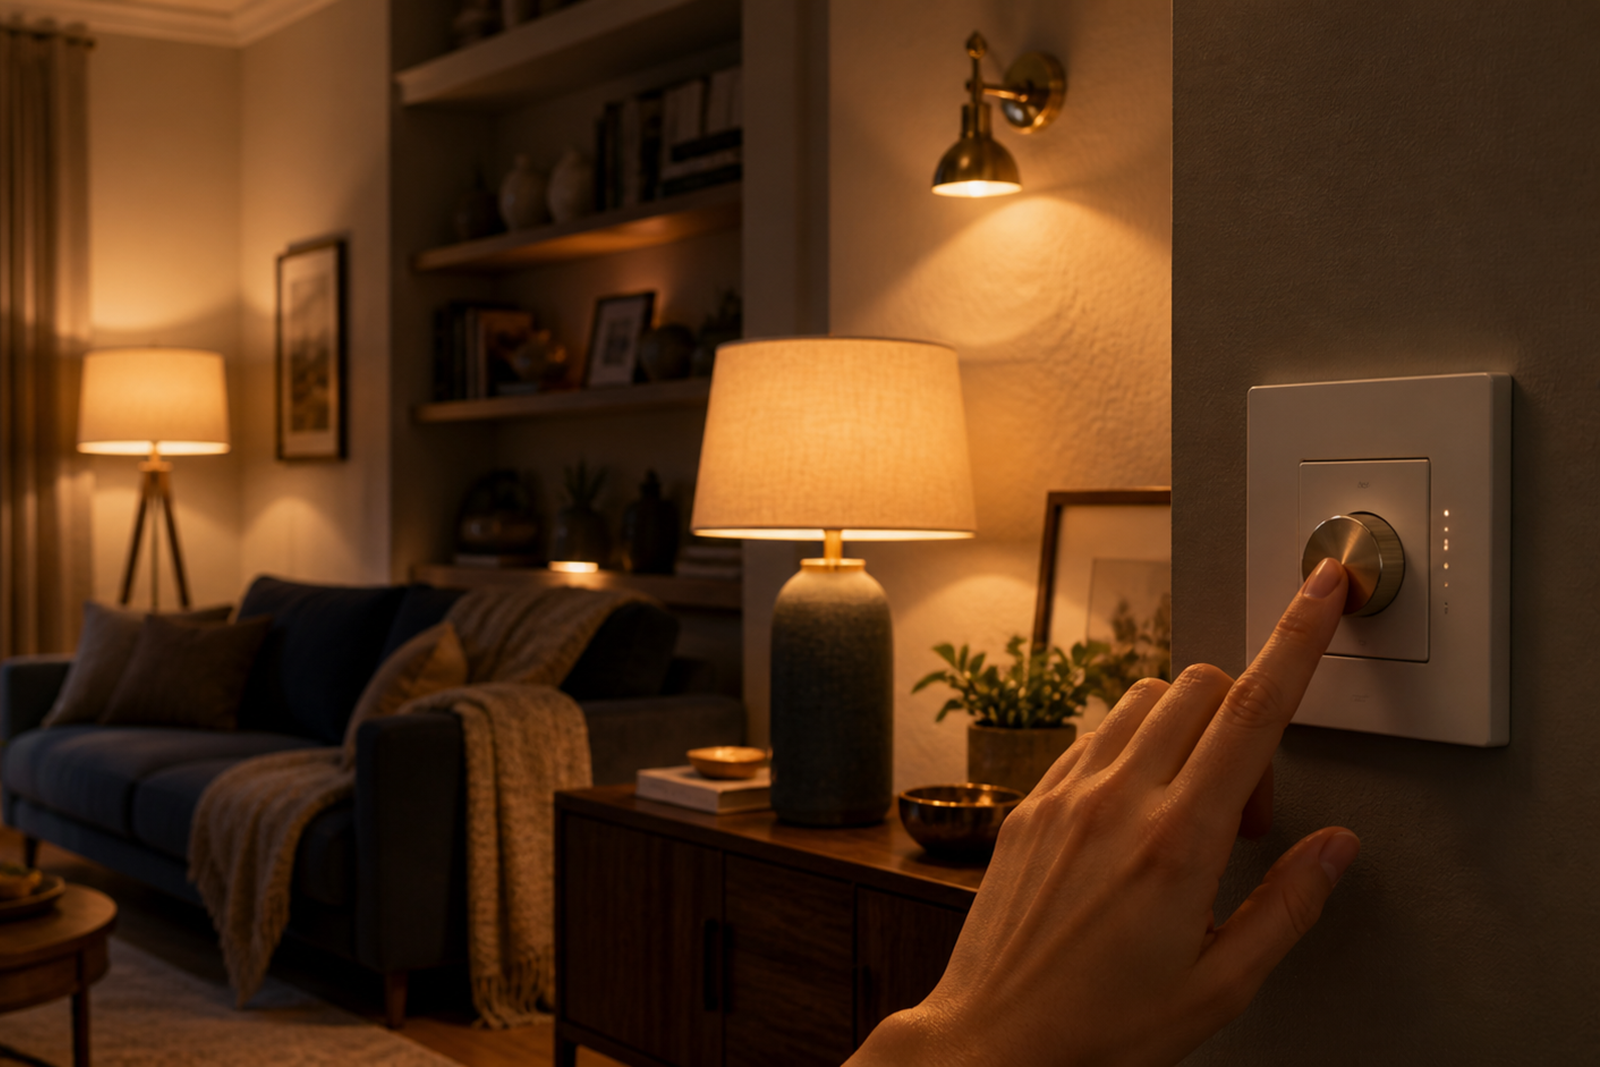
When I first started trying smart light strips in my home they were a bit of a gimmick, and I had to hunt around for where I could use them. In more recent times we’re seeing light strips being used more and more in home designs and even furniture, and I’ve found they can offer a great alternative to conventional direct lighting solutions.
Modern smart light strips are now bright enough that they can be used solely to light a room. You won’t get the bright room lighting you’d typically get from bulbs and down lights, but when used correctly they create a wonderful soft, indirect, ambient light for rooms, or a more even diffuse light for work spaces that can reduce or eliminate shadows.
Unfortunately I’ve also seen plenty of DIY installations that don’t look great. That comes primarily from not understanding how to place these strips for best effect.
Essentially there are two key rules you should follow when determining where to place a LED light strip.
Don’t place them where the strip itself is visible
Don’t place them too close to a wall or other flat surface.
Rule 1: Keep them hidden
The soft light from LED strips, and particularly smart LED strips, is produced by a series of individual LEDs along it’s length. Those LEDs have spaces between them, and these spaces tend to be much wider on smart strips that can change colors. This is because you need multiple LEDs for each position (to generate blended colors) and extra electronics to go with them.
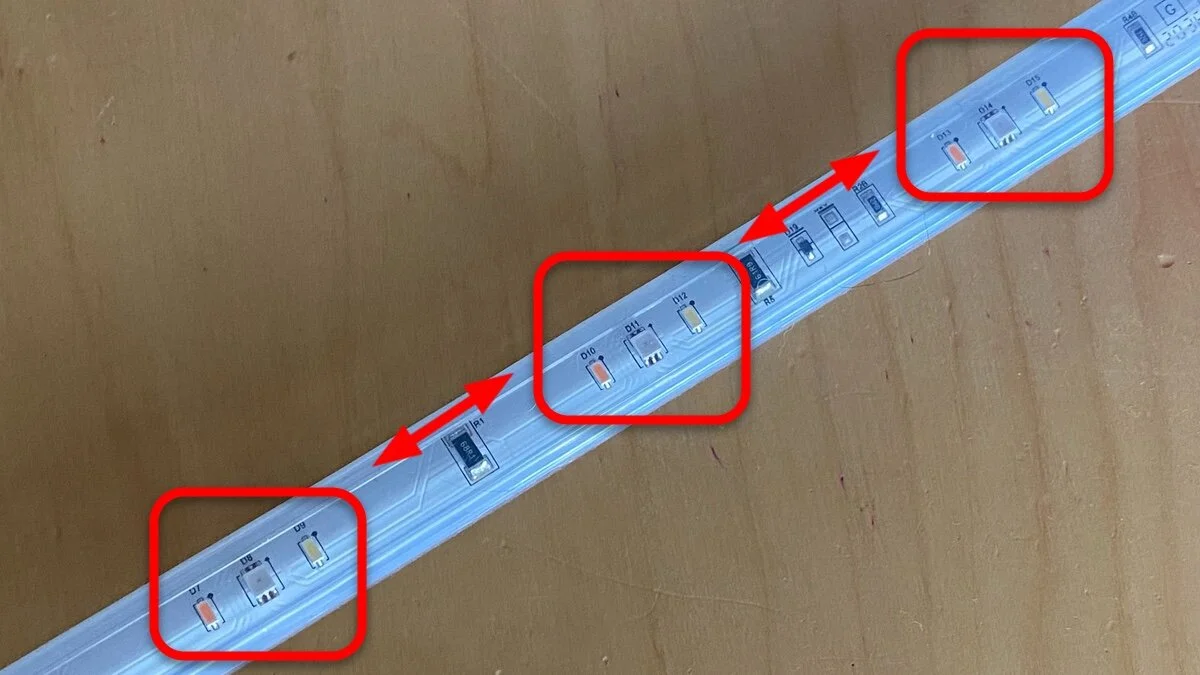
We want the light produced by the strip to fall on a flat surface that can reflect it around the room, so we don’t need to see the strip itself. Indeed the effect is ruined if you can see the strip because you’ll be drawn to the bright points of light at each LED position.
You can somewhat obscure the LEDS with products called LED Channels. These are extruded metal sections with a snap on plastic diffuser of some kind, inside of which the strip can be installed. There are two issues with these.
Firstly, the diffuser needs to be very thick to sufficiently blur the individual LEDs which also reduces brightness. Secondly, smart strips tend to be much wider than dumb, monochrome ones, which limits your options.
The wider models I’ve tried did not sufficiently blur the LEDs which are still pretty clearly visible bright points, so this option is not really useful for placing the strip in a directly visible position. However, these do provide a good solution for hiding the strip itself for under-shelf type scenarios where you don’t have a pre-cut channel to put the strip in, just keep in mind Rule 2.
Rule 2: Not too close to surfaces
This one can be easily overlooked, but it’s important. The best effect is achieved when the light from the individual LEDs is spread evenly, and this means there needs to be enough space between the LEDs and the nearest surface so the individual light sources are not obvious. Light strips throw light in all directions, so you don’t need much space. 1 inch (3cm) from the nearest surface will do it.
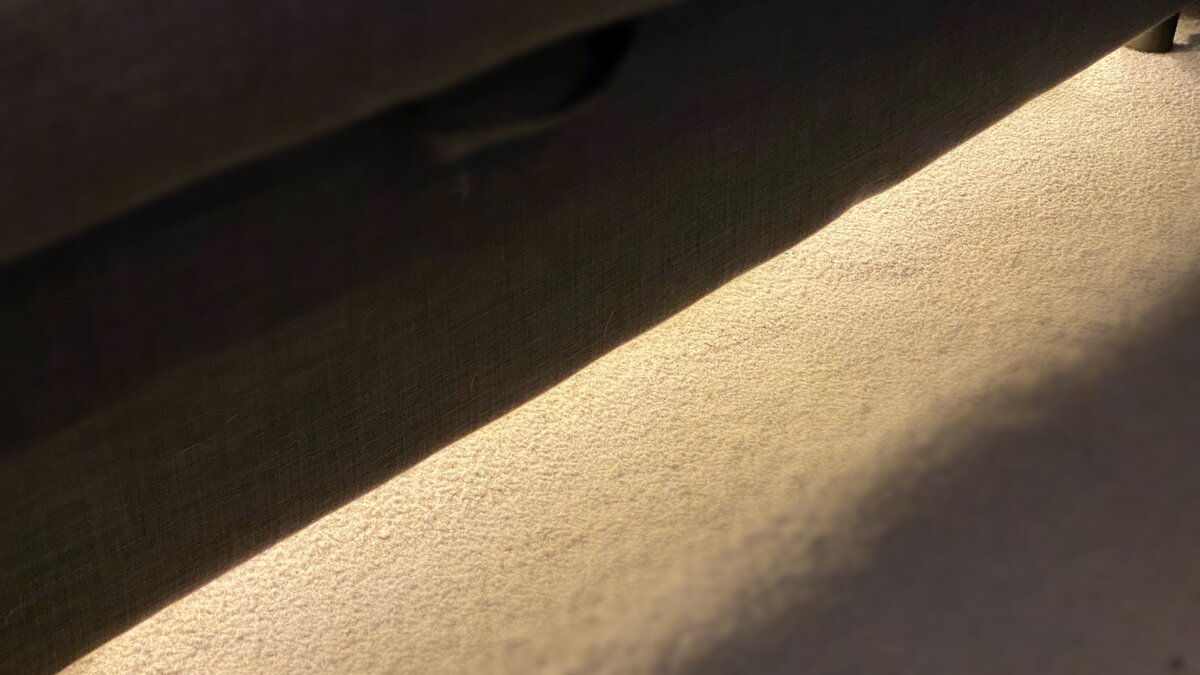
You’ll note in professional installations like kitchen cabinets, that the channels cut into the cabinetry for the strips are inset from the back wall. This is to provide that spacing, and we need to ensure the same for DIY installs. If we install right next to the wall (or too close to the floor or ceiling) you’ll clearly see the individual light sources which ruins the effect.

LED Channel placed too close to the wall
Placement Ideas
Some examples of good strip placement that I’ve used include:
Running them along the top of cabinets facing the ceiling
Attaching them under the edge of furniture like beds and couches
Inside a LED Channel attached to the bottom of shelves or cabinets to light a desk or work bench
On the back of furniture or appliances (TVs) providing there is enough space between the strip and wall


By following these two simple rules I’ve found that I can light a room just with LED strips for normal relaxation, kids play, or socializing. The effect is classy, and with different color and brightness combinations you can easily create unique moods for each scenario. They can also be very effective as nightlights at low brightness levels, and when coupled with a motion sensor at floor level you can even us them in the bedroom to make night time movements safer.