LIFX Beam Smart Light Bar Review: Better Than LED Strips?
When you buy through links in this article, I may earn an affiliate commission. Learn More.
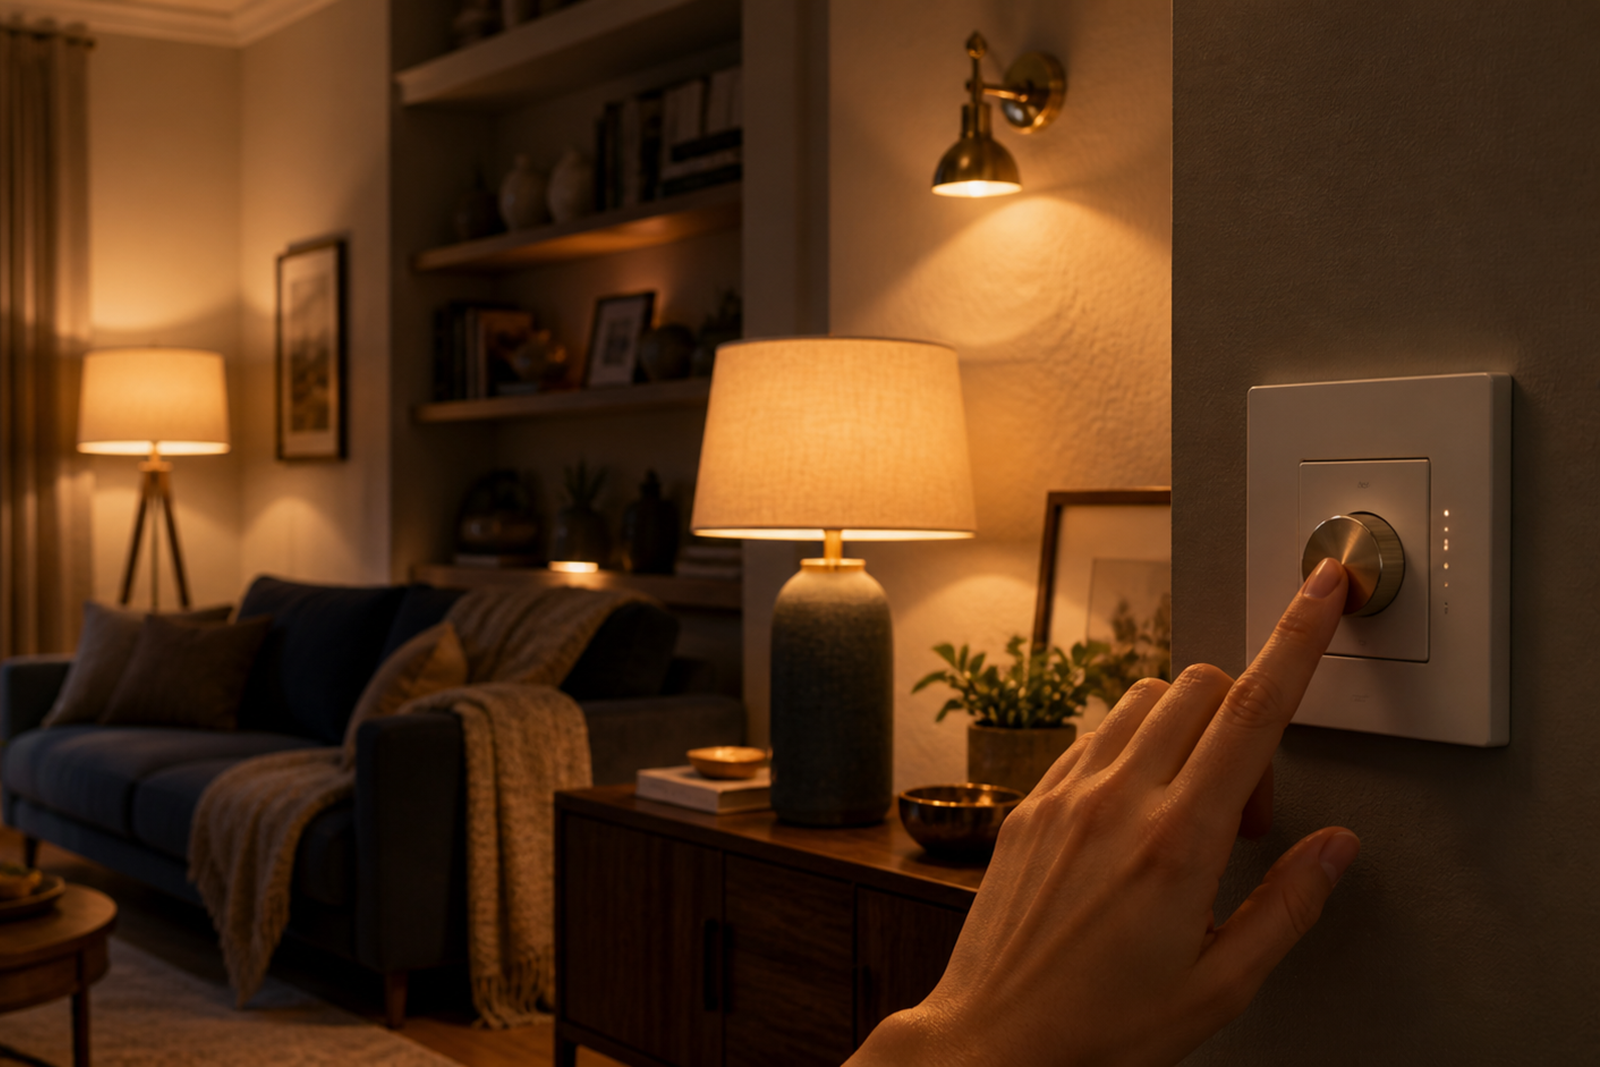
One of the benefits of smart lighting is the ability to create both visual interest and tailored ambience in your living spaces. Colored bulbs can go be a part of this but generally fall short on both of these fronts. To get the effects that grab attention and really change the mood of a room you need to move towards things like corner lamps, light strips, and feature lighting.
Light bars are a useful addition to this list, and the LIFX Beam is a premium option that allows for both custom shapes and animated lighting effects in an easy-to-install DIY kit. I find it a great alternative to using LED strips as it completely avoids the issue of patchy light spots and the need to find just the right positioning to get a good effect.
Buy using a dense LED matrix in each light bar coupled with an effective diffuser you can place the LIFX Beam in full view while still getting a smooth, solid color effect. Indeed, the main selling point of the Beam is to do just this, creating a custom feature light specific to the wall space you have.
I’ve taken advantage of this to create both feature highlights and under-cabinet lighting where a light strip would otherwise be unsightly, and have found it to be very effective, reliable, and easy to set up. It may not be suitable for every situation, and it does sit at the higher end of the smart lighting price range, but for the right situations it’s hard to beat.
LIFX Beam Overview

LIFX Beam
Key Features:
• Modular polychromatic light bars
• Magnetic connectors
• Included corner connector
• Wi-Fi - no hub required
• Supports Alexa, Google, and HomeKit
• Bright, rich colors
• Range of animated effects

✔ Smooth, bright colors
✔ Excellent support

✘ Limited length (8 bars max)
✘ Can only create right-angles
Unlike most light bars or strips, the LIFX Beam is composed of a number of interchangeable segments. Each segment contains multiple addressable color zones that allow for complex color schemes and animated effects and are attached to each other via a proprietary magnetic connector system. Each segment has a male and female end, the male end having three spring loaded protruding contacts, and the female end having three matching recessed contacts.
A strong magnet embedded on either side of each connector pulls them together and ensures the correct polarity for each join. This creates a truly snap-together installation process which has proven very reliable over the several times I’ve done an install…or relocation.
The idea of relocation leads to the question of how these segments attach to surfaces. Each bar segment has two 3M Command Adhesive poster strips, the kind with the velcro-like material between the two adhesive pads. The initial installation just requires pulling off the protective tape and attaching to the wall - or ceiling.
Relocation requires purchasing some new 3M adhesive trips, but you can reuse the velcro-like parts which allow for the removal of each bar from the wall, and then removing the wall-side 3M strip using the simple damage-free pull-and-stretch method that Command Adhesive strips are known for. It’s a simple and elegant solution that makes both installs and relocations a breeze.
In the box you’ll get six 12” (30cm) segments, a power brick, a good length of cable that leads to the control unit and on to the magnetic connector that attaches to the end of your Beam installation, and a corner piece. This corner piece allows for right angles between segments, and each Beam controller can handle two of these, plus two additional bar segments for a total of eight. These can be purchased separately if required.
The controller provides both control of the LED arrays, and connection to your 2.4 GHz Wi-Fi network.

LIFX Beam in the box

The magnetic connectors on each segment

The magnetic power cable
Installation and Setup
You might be wondering how you get the magnetic connections to align while trying to stick each subsequent bar to the mounting surface. This is actually very easy. The adhesive strips are positioned some way in from the end of each segment, so you simply angle the bar you are attaching with the previous one, then swivel it onto the surface. The magnets will grab before the adhesive touches, then you simply press and hold for the required 30 seconds to ensure a good bond. Rinse and repeat until all segments are installed.
Doing this along an edge of some kind makes it easy to keep things straight, but if you’re working away from such an edge it would be worth ruling a centerline for your design first to ensure you have something to follow. You can then easily line up the center pin of each connector with the line as you swivel it down.
Once you have all the segments installed, power up the unit. The controller will detect how many segments are installed automatically and allow them to be used without any further configuration.
Adding the LIFX Beam to the LIFX app is also easy. By tapping on the + button to add a new device, you’ll be presented with a list of any unconfigured LIFX devices in range, select the Beam and follow a few steps to add it to your Wi-Fi, assign it to a room group, and give it a name. That’s it, you’re done. If you run Apple HomeKit, you’ll be prompted to scan the QR code to add it there as well, or you can do it later if you prefer.
Configuration options
There’s not really any configuration to do on the LIFX Beam, per se. The options available, apart from organizational actions like naming and grouping, largely revolve around selecting the color schemes and animations to use at any given time. These are all presented easily in the LIFX app, although the placement of color and effects in different sections is a little annoying when you’re experimenting.
To set the color of the LIFX Beam you can use the standard color wheel for either hue and saturation for full color, or color temperature for the white tones. Alternatively, you can go into the Themes or Palette tab to get a bit fancier.
Under Themes you’ll find a bunch of pre-set color themes in various categories. Things like Art styles, Moods, and Holidays provide some of these, but you’ll also get time-specific categories for major events like the World Cup. Under each will be a selection of themes you can select to set a mix of colors across the while Beam with a single tap. Some of these will place the color randomly so as to mix it up a bit each time, while others will use a fixed layout. This is common with things like flags where the colors are placed in a specific order and distribution.
There’s something in there for pretty much any occasion, but if you want to get more personal you can use the Palette tab to literally draw the colors you want where you want them on the light bar. By tapping on one of the provided color options in a grid you can then slide you finger on the depiction of the Beam to draw that color at that relative location.
Once you have your colors the way you want them, you can save them in a Scene. Scenes and animated effects are found under a ‘magic’ section seperate to the main dashboard. The icon for this is next to the dashboard icon at the top of the app. In here you’ll find any scenes you’ve set up which can apply a selection of specific effects and colors to any LIFX lights you have. You’ll also find the effects on offer. This includes things like Twinkle, Color Cycle, Random, and a music visualizer. Some effects work with the color palette or theme you set up earlier, and some use a pre-determined behavior.
These effects can provide a very nice ambient effect for chilling out but can be equally cool for adding some dynamism when entertaining.

The animated effects options

The Themes tab - the Hokusai art theme is currently selected

The Palette tab showing a (terrible) custom color scheme
Real World Performance
Light Performance
As I’ve noted above, one of the things I really love about the LIFX Beam is the ability to have a fully exposed smart light bar with no patchy light output, ugly LED spots, or limited light throw. While you lose some flexibility with the Beam over a conventional light strip you completely do away with the hassle of having to hide the strip itself. Exposed light strips are downright ugly and must be positioned out of sight behind furniture, in cover boxes or in some other way to get the desired effect.
The design of the light bars ensures that you get excellent light output not only from the front, but from the sides as well. In both cases the effect is smooth even light with not impact on the richness of the colors for which LIFX is well known. The output is sufficiently bright that these can be used to illuminate work benches from above, and can adequately light up a room on their own for casual use. You won’t get full room lighting for working in, but for relaxation the Beam on it’s own is enough.
I use one in our family room as a feature around the Kids Nerf collection, and a second one under our kitchen cabinets above the cooktop. In the latter case I can use the Beam exclusively for cooking and meal prep instead of the lights in the rangehood, it’s actually better. Then, once the kitchen activities are done, I can set up a nice gentle color cycle using a pastel theme to see out the evening.
This is a good example of a situation where a smart light strip wouldn’t work. There is no way I could install one under the cabinets without it being directly visible, and the rangehood ensures that building a cover for it is out of the question as well. You could try installing a strip in a diffuser channel, but I haven’t found these to be at all effective with smart light strips due to their typically wider LED placement.
Note: When looking at the photos below keep in mind that I’ve dialled the brightness way down so as not to over saturate the camera.

A single bar showing the adhseive strips on the rear

Set to the right blue the Beam acts like a blacklight

Bright colors show evenly along the whole length
Smart Home Integration
LIFX has native integration with four major platforms, Amazon Alexa, Google Assistant, Apple HomeKit and, more recently, Samsung SmartThings. As a major brand many smaller platforms do, of course, have their own support for LIFX devices through the LIFX cloud service, so you are unlikely to be left out regardless of what you use to run your smart home.
In all of these cases you’ll only have the standard smart light controls available for the LIFX Beam, that is single color selection and brightness. LIFX do support Siri Shortcuts as well, however, and using this tool you can create Siri voice commands to trigger scenes in the LIFX app. This allows you to use voice commands from any Apple device, including HomePods, to activate animated effects and specific color themes even though you can’t do that from HomeKit itself.
LIFX Smart home support has been a bit flaky in the past, but over time they’ve matured this offering and I find it now pretty solid. I do have to reset the controller once of twice a year though. For some reason it can become unresponsive, even to the LIFX app, and need a reboot. This is simply a matter of turning it off and on again at the wall and it’s always come right back. This is something that affects both the Beam and other LIFX bulbs I have like the LIFX Nightvision and LIFX Clean.
Support
I think customer support is worth calling out as bad experiences are par for the course in the smart home industry. LIFX is very much a stand-out exception to this unfortunate situation. On the few occasions I have needed to contact support they have been fast, thorough, and have gone above and beyond to solve my issue.
I can’t speak more highly of this aspect, and it’s a real credit to the company that’s worth factoring in when considering a product like this. They may not be the cheapest, but you get what you pay for in product quality as well as support.
Alternatives

Azoula Smart LED Wall Lights
If you’re OK with limited smart home support (Only on/off functions in Alexa and Google Assistant), there are a few options on the table. These light bars from Azoula are at the cheaper end of the scale and while they appear similar to the LIFX Beam and do have similar features in terms of color painting, themes, and effects, are not up the same build quality and don’t emit light from the sides.
They can be screwed to the wall or use the provided adhesive strips. These strips are not the full command adhesive ‘velcro-style’ hanging strips that LIFX use, but a simpler single double-sided variant. They certainly don’t hold as well, and would be much more awkward to relocate if and when the time comes. In fact, they’re not reusable at all.
Build quality is on a lower side, and you may find some of the bars don’t work out of the box. On the upside they use a press down clip connection which can be attached end-to-end or from the side, so corners don’t require any additional parts. The clip can be a bit fragile, though, so it takes some extra care when assembling.

Govee Glide Smart Wall Light
A better-quality option might be the Glide from smart light maker Govee. Govee have been making a name for themselves with a wide range of decent smart lighting products targeting the likes of Philips Hue and LIFX.
The Glide is another similar offering copying the LIFX Beam that supports up to twelve segments a little under 12” in length, and comes with eight bars and four corner pieces in the box.
Using Alexa or Google voice commands you can control the light bars including triggering scenes. You get custom color schemes, music sync, and a stack of pre-set themes to choose from, and the build quality seems decent.
Installation is a bit harder than with the LIFX Beam due to the snap on connectors but can be taken care of with a second pair of hands to keep things lined up as you go.

Hitonass Glide Wall Lights
Even the copycats get copied these days, and this is a good example. Taking not only the exact same form factor, but even the same name as the Govee product, this knock off from Hitonass does have the virtue of being dirt cheap. Ridiculously cheap, in fact.
You’ll get six bars and two corners in the same rounded diffuser style as the Govee Glide, Alexa and Google support, as well as support for Siri Shortcuts for under $30.
This is all by virtue of using the Tuya platform, which may give you reason for pause. It’s a huge Chinese IoT company that provides a platform for other vendors to build smart home products. They appear to take security seriously, and to be fair they’re probably better at it than an unknown brand like Azoula above, but it’s still a matter of ‘buyer beware’.
You aren’t going to get the build quality of the higher priced options, and the support will be non-existent, but if price is your primary consideration, you can’t really go wrong with this one.
The Verdict
In order to realize the true potential of smart lighting for creating ambience and visual interest in our homes we need to move beyond light bulbs. The common way to do this is with smart light strips, but getting good results from those can be challenging if you don’t have suitable install locations that will keep them out of view.
Using a smart light bar system like the LIFX Beam overcomes this issue but comes incur some limitations with regard to length and shape. There are other feature lighting systems, like the Nanoleaf Lines, that are more versatile as feature lights, but they don’t produce the brightness and visual effect of a solid light bar.
The LIFX Beam provides a high-quality solution in this space, with best-in-class smart home integration, top notch support, and super simple installation - and relocation. Using the LIFX Beam has allowed me to create dynamic highlights of key features in my living areas, as well as create bright, full color work bench lighting in the kitchen where I wouldn’t be able to use a lightstrip.
I’ve been very happy with the ease of use, versatility, and reliability of these light bars. High build quality and industry leading support make them worth the price of admission in my book.