Meross Garage Door Opener: Simple and Effective
If your garage door motor doesn’t support smart home integration, or doesn’t offer your platform of choice, then it’s necessary to turn to third party add-ons. Most motors can accommodate such a device, and there are a few good ones on the market.
Smart device maker Meross has come to the table with their Garage Door Opener at the low end of the price range. This little remote supports all three major voice assistants, is simple to get installed, and has proven fast and reliable in it’s operation.
Let’s take a look at the hardware, setup, and app integrations, and then compare performance and reliability with Chamberlain’s MyQ system.
Meross Garage Door Opener Overview
Meross Garage Door Opener
✔ Supports Alexa, Google,
HomeKit, SmartThings
✔ WiFi, no hub
✔ Works with most motors
✔ USB powered, no batteries
✘ Wired door sensor only

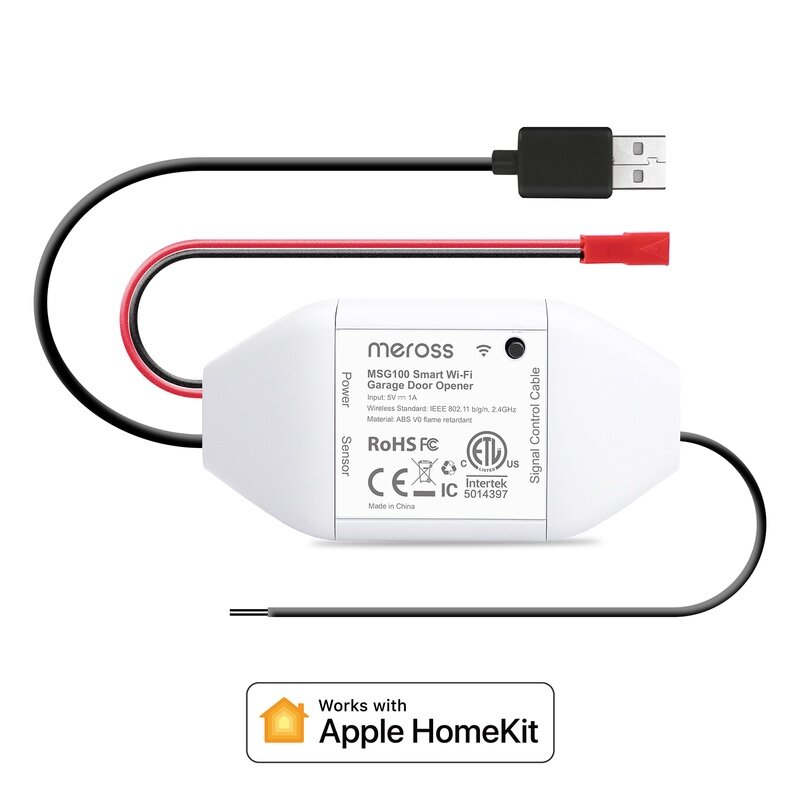
The device itself is a small module that sits on top of your existing garage door motor. The only control is a reset button on the top, with three wires coming our of the body. One of these is simply a USB cable for power that can connect via the provided USB charger, or any other you may have. The other two provide the door control, one to the motor, and one to a magnetic sensor that provides the opener with the current door state.
Some smart openers use wireless sensors to make placement easy, and this is a nice convenience at first. Going this route means you have to worry about signal strength and replacing batteries in the sensor regularly, which can cause issue over time. Meross has opted for a simple wired solution, probably to save costs, but it does make it easier to manage in the long run. The sensor wire is very long, and shouldn’t cause any major issues for most people to get it to where you need to go. I haven’t measured it, but it’s more than enough to get from the motor to either side of a double garage door.
Besides the controller, you’ll also find a few small screws to attach the sensor and magnet, a short cable tie, and a strip of adhesive pads for tidying things up.
How does it work?
Most door motors have the ability to attach a wired push button for manual control, typically installed on the wall in the garage, or inside the house. There will be a pair of wire terminals on the side of the motor where the button would be connected. The Meross device simply connects to those terminals and simulates a push button by shorting the terminals whenever you send it an open/close signal.
This approach avoids issues with encrypted remote signals and provides a very easy way to set up automation. Meross has a compatibility site where you can look up your exact door motor model to confirm it will work, and even in many cases where it might not Meross can provide an adapter that will fix it.
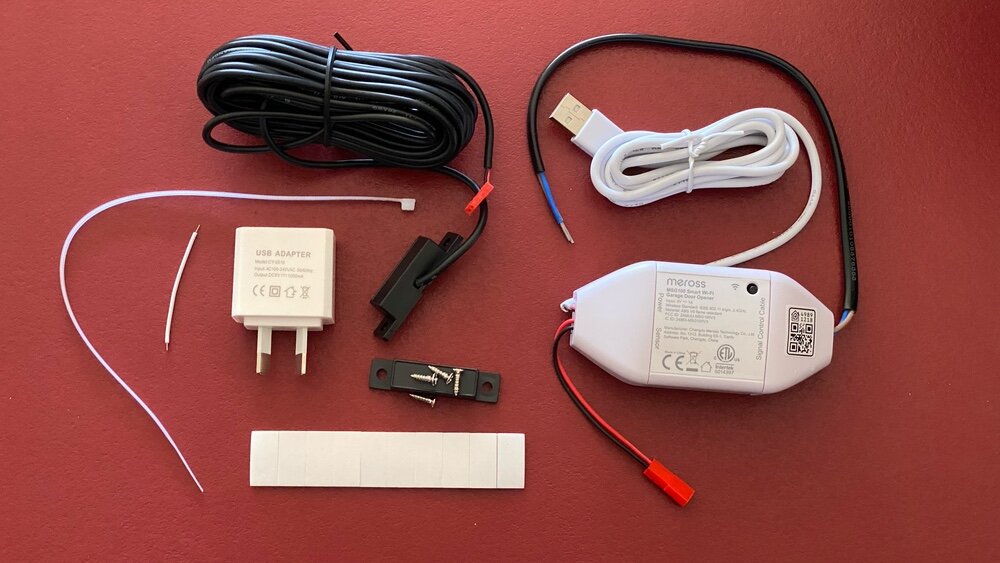
Meross Garage Opener box contents
Installation and Setup
Using the Meross app to configure the device is quite good, and the physical installation process is stepped through in detail, fronted by a mandatory compatibility check right in the app.
For Homekit users, you should be able to scan the QR code in the Home app and set up directly without using the Meross app. Unfortunately I couldn’t get this to work. The device would connect to the WiFi, but the Home app would time out and fail to pair with the device. After doing a hardware reset and trying again multiple times, I resorted to using the Meross app to do the initial setup and it connected to HomeKit right away.
Once connected you proceed to do the installation steps as directed by the app. It’s not that complex, but it’s good that the process is so well covered. Placing the opener on top of the door motor, you connect the short wire to your motors push button terminals, and the run out the longer sensor wire to where you want to place the sensor. You don’t have to put this at the bottom of the door, anywhere that will move the magnet away from the sensor when the door opens is fine.
This could be at the top of the door if there is enough clearance for the sensor, or on the top side edge. I ended up just attaching it above the rest position of the opener arm on the pulley rail. The magnet is attached to the arm itself (purely magnetically) and this works fine.
You’ll probably need to get some clips to hold the sensor cable neatly in place along it’s length. I used 3M Command Adhesive cable clips along the center rail, but you can use anything suitable for your installation. I similarly used an adhesive strip to hold the sensor in place, although that may prove troublesome when the weather heats up.
Once you’re all set up and tested, you can go ahead and add the Meross skill/plugin to your smarthome platform to get the garage door to show up.
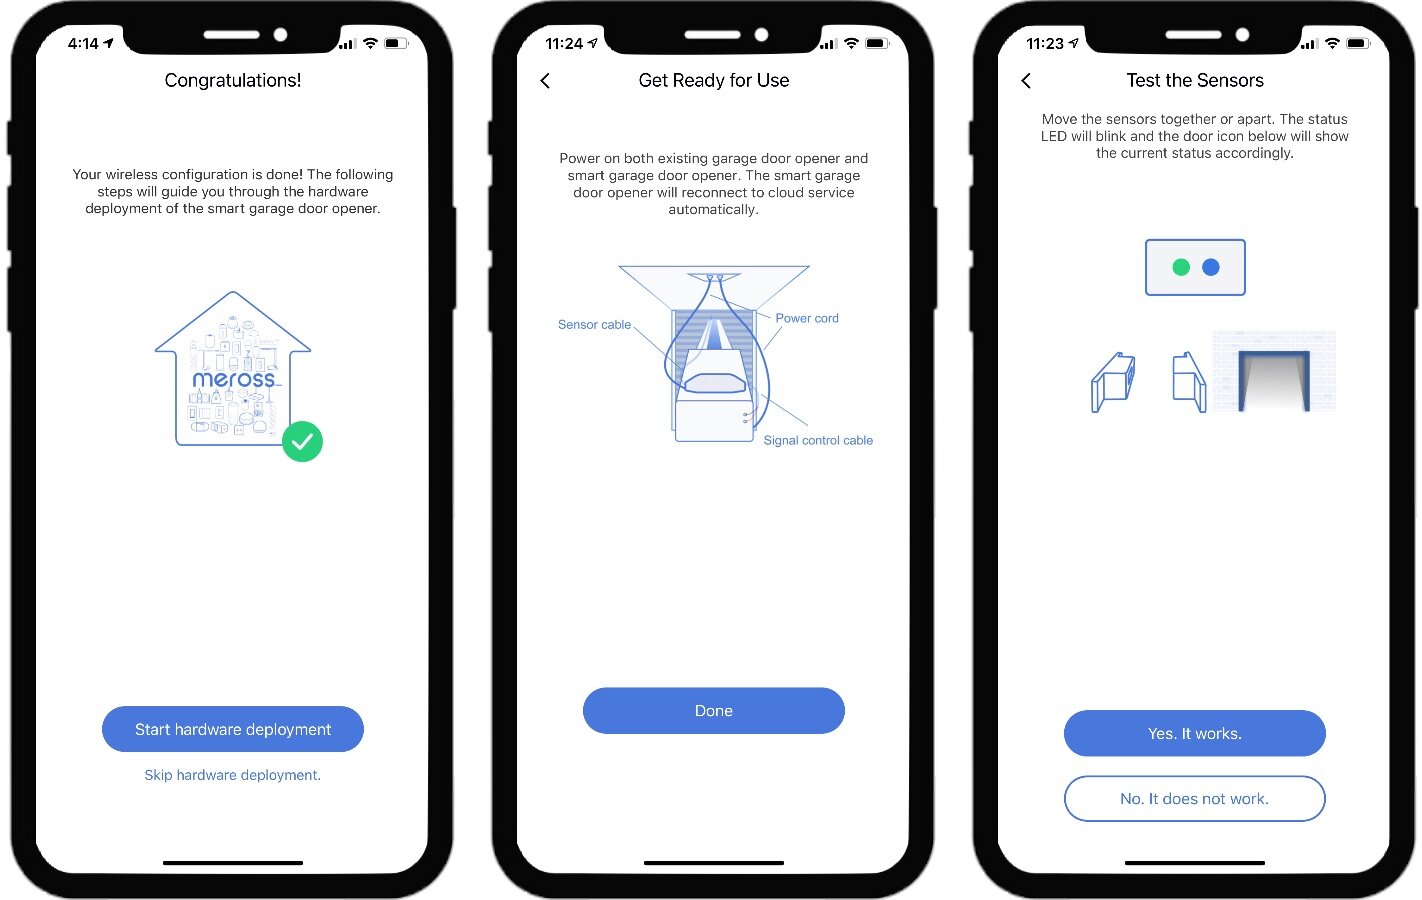
Meross app setup screenshots
How does it stack up?
We’ll start with the Meross app. It’s very basic, and primarily should be used for initial setup and doing firmware updates. Part of that setup requirement are also some potentially important configuration options you’ll need the app for, specifically to adjust the open/close time of your door to allow the obstruction detection feature to work correctly, and to configure notifications. You can just rely on notifications from your smart home, but the Meross app offers some useful additions.
By tapping on the top right corner of the door tile you can access these setting, and some useful status info like firmware version, Wifi strength, MAC address and so on, as well as an operational history log (although it doesn’t tell you if the app or the normal garage door remotes triggered the action).
The app does provide some useful notifications, not only if the door is opened or closed, but also if it’s been left open for more than 5 minutes. Unfortunately, you can’t control which ones it sends, and this means you might end up with duplicates from your smart home as well. A word of caution when setting up your Meross account. The app doesn’t confirm your email address, so if you make a typo you’ll be locked out if you need to recover your password.
Now, I don’t think that detracts from the device itself, after all we’re going to be using our smart home for control (that’s why we’re doing this, right?), not the Meross app.
I’ve been using a MyQ bridge for a while for remote door control, and that’s been OK, but Chamberlain is pretty heavy handed with their integration support so I wanted to free myself from that. If anything, the Meross opener responds as fast as MyQ, probably slightly faster as it’s not going through Chamberlain’s cloud service.
The biggest difference is when commanding the door to close. MyQ enforces a 5 second delay while it flashes the motor light as a warning. This is safety feature when closing the door ‘remotely’ to ensure no one is in the way. Of course, it’s also mandatory to have P-Beam sensors to detect obstructions so it’s not really a risk. Meross has no such limitation, and as it’s acting as a local push button it closes the door immediately. You can turn on such an alarm if you want to though, again in the Meross app settings.
There is a difference in notifications between the two. MyQ is getting door state data from the motor, so it will tell you the door is opened when it gets to the full open position, and will tell you it’s closing as soon as it’s starts to move. The Meross sensor is more limited. It will tell you the door is opening once the sensor loses contact and ‘assumes’ it’s open a fixed time after that. Similarly when closing, if you close the door using a remote it has no idea the door is coming down until the sensor makes contact. If you initiated the close from using the device, it shows a closing state until the sensor confirms it’s closed.
These are slight variations, and in practical terms it’s not a significant difference and hasn’t caused me any problems. You may get false ‘obstructed’ warnings from the Meross device if the sensor shifts and doesn’t signal the closed state correctly, but that’s just a matter of correcting the magnet position and cycling the door.
Alternatives
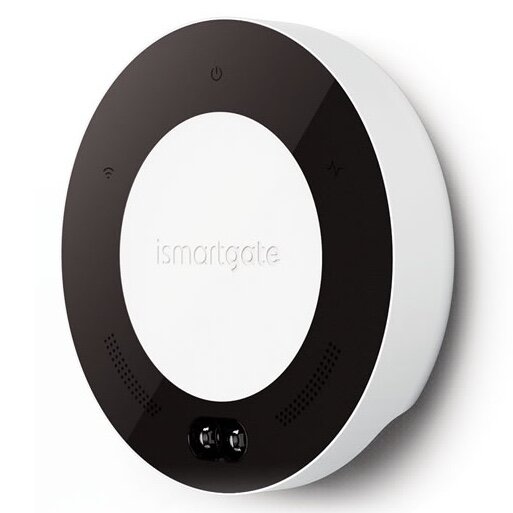
iSmartGate
✔ Supports HomeKit, Google, IFTTT, SmartThings
✔ Door position sensor included
✔ Supports time limited user access (in app)
✔ Local control
✘ Instructions only online
✘ Most expensive option
While this is a more expensive option, the iSmartGate LITE (formerly known as GoGoGate) offers similar smart home platform compatibility but offers true local HomeKit control, no cloud required. Like the Meross there’s no subscription required for any of the supported platforms, and it’s usable in any region. There’s also a PRO model that allows wiring up to three door openers from the one device, so this is a great option if you have a garage with multiple doors.
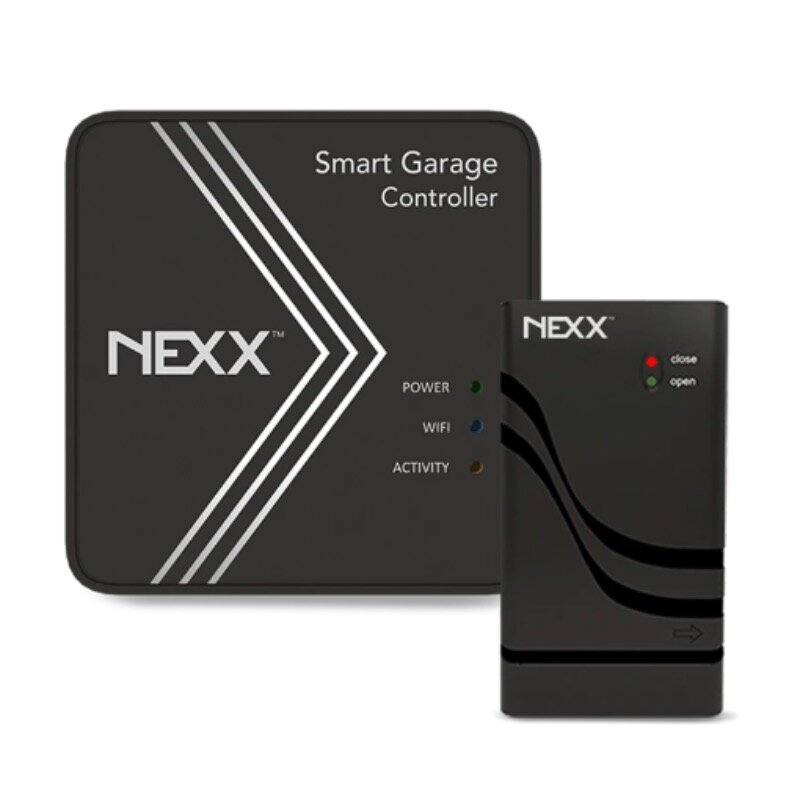
Nexx NXG-200
✔ Supports Alexa, Siri Shortcuts, Google, IFTTT, SmartThings
✔ WiFi or Bluetooth, no hub required
✔ Supports 200+ motor models
✔ Easy installation
✔ Wired or wireless door sensor
Stepping up a price bracket, the Nexx NXG-200 is a popular option if you’re not using HomeKit (although it does have Siri Shortcuts for some voice control). It works the same way as the Meross (using the button terminals on the motor), but you also get a bunch of extra features. These include the option of a wireless door sensor (instead of wired), optional temperature and carbon monoxide sensor, multi-user control in the Nexx app (so you can share access and see specifically who opened the door and when) and support for both Apple and Android watches as well with native apps.
The Verdict
I’ve found the Meross Garage Door Opener to do exactly what I hoped it would; provide a simple and reliable way to control my garage door through my smart home and tell me whether it’s open or close. Running the door sensor cable might cause a bit of angst, but it’s easy enough to do providing you get some cable clips, and it does avoid the need to worry about sensor batteries later.
For the price, it’s easily the best value option for getting this done, setup is straightforward and well documented, and it just works every time without a fuss.