Hue Outdoor Motion Sensor: Review
When you buy through links in this article, I may earn an affiliate commission. Learn More.
With smart lighting, it’s fairly easy to get a fully automated and efficient lighting solution with motion sensors. The key requirement is that the motion sensors are capable enough to give you control over how the lights work, and responsive enough to not leave you standing in the dark for a few seconds.
Philip’s Hue system is a fully integrated lighting solution, so it naturally includes motion sensors specifically for this purpose. Getting the lights to turn on automatically outside is something that offers both convenience and security benefits, especially if the light switches are on the inside of the house. It is here that I wanted something that could reliably manage my outdoor entertaining area without having to install another switch.
Hue has come to the party with the Hue Outdoor Motion sensor which is both fast, and configurable. It can also appear as a usable sensor in some of the various smart home platforms with which the Hue system integrates.
Things to consider
When looking for an outdoor motion sensor you’ll want to think about what devices you want to control, and therefore what integration you need. While the Hue sensor can be seen and used by other connected platforms, it actually works best when driving Hue lights through the Hue bridge itself as it offers some more advanced functionality this way.
You’ll also want to consider placement and if the motion sensor you are looking to get will trigger when you don’t want it to, such as due to passing traffic or other activity outside your property. Both sensitivity and flexibility of placement are important here.
Finally, buying any wireless device, you’ll need to consider range and interference to ensure optimal performance. A common source of one-star reviews for wireless products is that they don’t work, but this is almost always because the placement of the device does not give adequate signal strength.
What is the Hue Outdoor Motion?
The Hue Outdoor Motion sensor is simply a passive infra-red sensor (PIR) that connects to the Hue Bridge (which is required) via the ZigBee protocol. The sensor allows the Hue bridge to turn on any connected Hue lights when motion is detected, and turn them off automatically after a set period of no motion.
Being ZigBee powered, the motion sensor is completely wireless, and powered only by a two AA batteries. Naturally it’s also weather proof for outdoor use and can be mounted in a variety of configurations with the included bracket hardware. We’ll look at that more in a moment.
Included in the Outdoor Motion sensor, like it’s indoor sibling, are additional sensors for temperature and ambient light. The latter is used for providing better control of the lighting behavior, but the temperature sensor is a bit odd. The Hue system can’t actually use it at all, it doesn’t even appear in the Hue app, and it seems to only be available to Apple’s HomeKit.
The Hue Bridge itself offers integration with an extensive list of third party systems, including Amazon Alexa, Google Home, Apple HomeKit, Samsung SmartThings, Wink, Logitech Harmony, and more. Some of those platforms are able to use connected sensors to drive their own automation behaviors, and those that do will be able to see and use the sensor input from this motion sensor.
What this means is that while the Hue Outdoor Motion has specific functionality for controlling Hue lights, you may also be able to use it to control your other smart devices, and lights from other brands, through a compatible smart home platform.
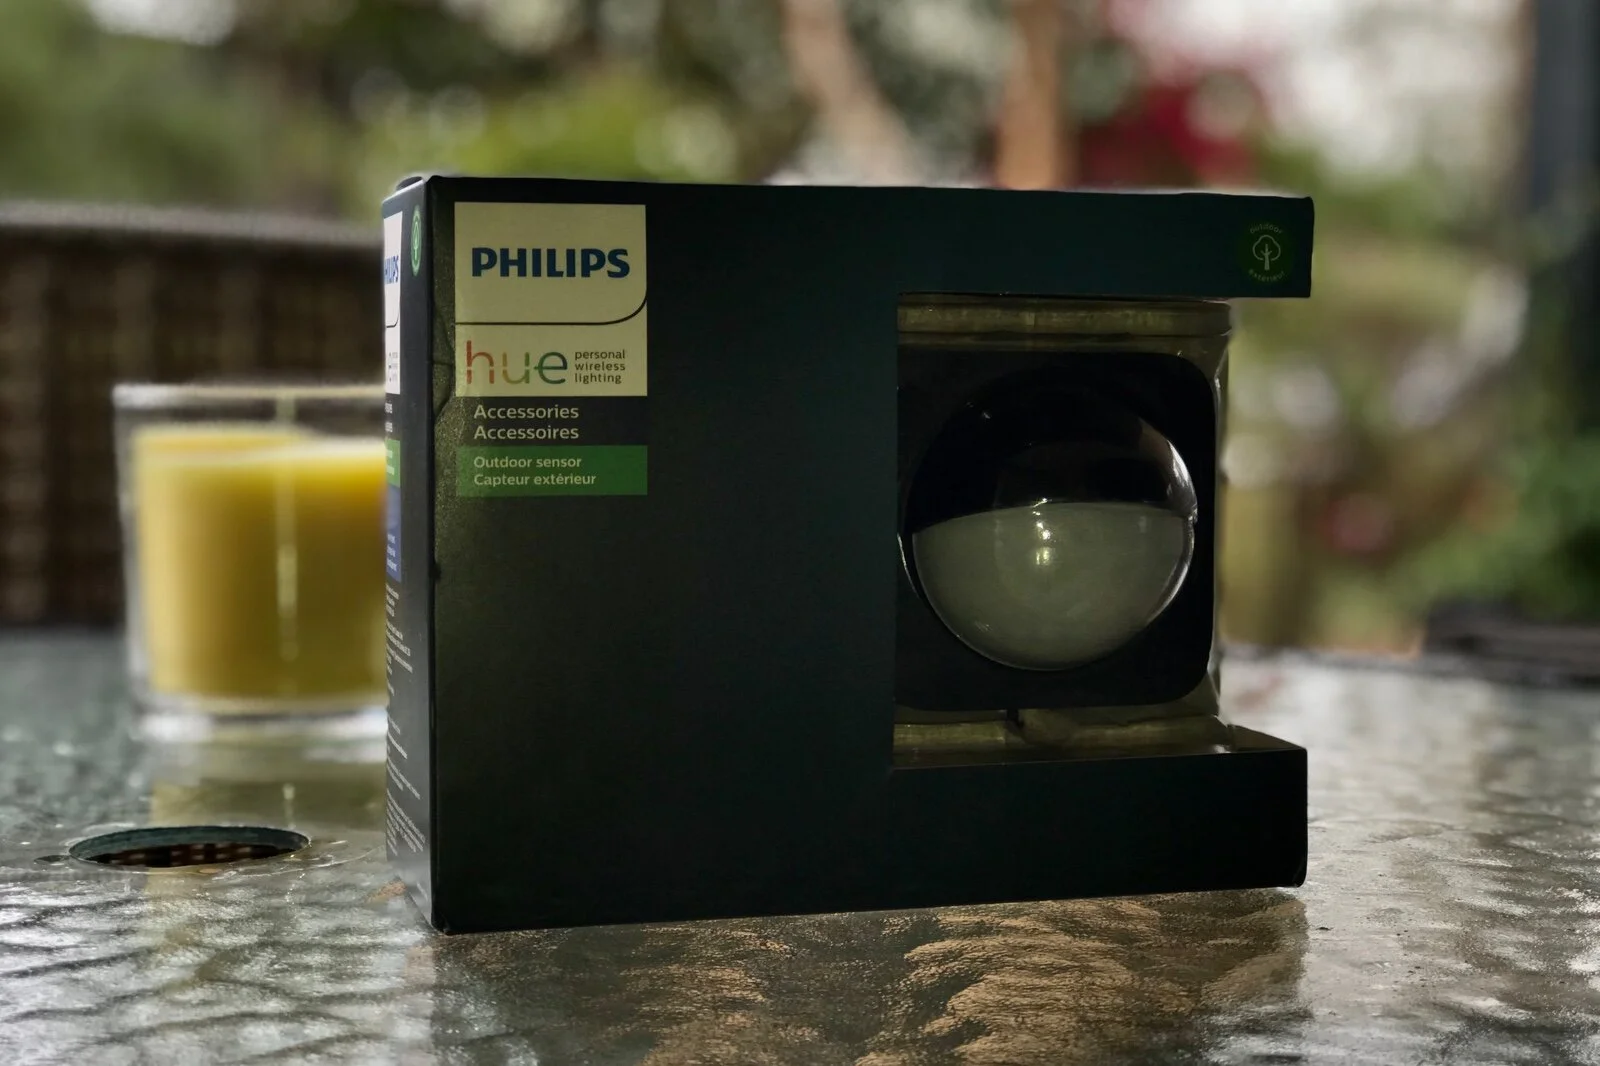
In the box is just the sensor, a secure mounting plate that’s slots into the back, a quick start guide, and a wedge-shaped bracket that allows for mounting In corner situations, both inside or outside a corner.

Hue Outdoor Motion Box Contents
Installation

Installed Mounting Bracket
The motion sensor claims flexible placement as a selling point, and this is somewhat true. Using the provided mounting plate, you can attach it to a vertical surface such as a wall or post. As it only requires a single screw in the center it can be attached to a curved post just as easily, not just a flat surface.
A corner mount is also provided that can be placed into a 90 degree corner, and the mounting plate then attached to the outward flat side. Rotating the corner mount 90 degrees allows it to be placed on the outside of a corner as well. In both cases there are four screw holes in the corners to secure it.
Once the bracket is in place, the sensor simply clips onto the top lip, and is then secured with a single screw on the bottom. This arrangement is very secure and there is no risk of the sensor coming loose. It also allows for easy removal when it comes time to replace the batteries.
Why this is only somewhat flexible is that once the sensor is clipped onto the bracket it cannot be rotated in any direction. This doesn’t impact it’s function as it has a 180 degree field of view, so it shouldn’t be an issue to place it where it’s going to trigger. The issue is more than you can’t fine tune that placement to avoid high traffic areas you don’t want it to trigger on.
Software Setup
Getting the sensor setup in the Hue app is straight forward, and this needs to be done before attaching it to the mounting bracket. There is a setup button in the back of the recess where the bracket snaps into place, so it can’t be reached once it’s installed.
The button puts the sensor into pairing mode, this allows the Hue Bridge to find it and add it to the Hue network. So long as the signal strength is good, this should be done fairly quickly. You’ll be promoted to select which Rooms will be controlled by the sensor, and you can choose up to three. These rooms are those you’ve set up in the Hue app to contain your lights.
I should note here that any Hue Smart Plug devices in the selected rooms will also be controlled by the motion sensor, so any dumb lamps that you may have connected this way will work as well. However, if you’re using a Hue Plug for something that’s not a light, this is going to give you some undesirable behavior. You could avoid this by assigning the outlet to another room in the Hue app.
This phase off the setup applies specifically to controlling Hue lights, you’ll need to do it at a basic level even if you want to use the sensor with another platform. On platforms like HomeKit or Alexa, there’s nothing else to do after this, the sensor should just appear in your list of available devices to trigger automations or routines.
I’ve found if you are using only Hue lights with the sensor that it’s far better to let the bridge handle things. Each room will be given some default behaviors, which are generally fine, but you can tweak a few things. If you have color lights in the target rooms, you’ll probably want to start with the scenes to be used.
You can specify a scene (from the Hue app) to be used for each selected room for both motion and no-motion states. You can further specify different scenes to be used for ‘day’ and ‘night’. So that’s up to four scenes for each room.
The day and night terms are a bit misleading. The motion settings allow you to split a 24-hour period in two to drive different behaviors. You’re still going to want to trigger the lights based on ambient light, so these two periods really define when top switch to a lower light scene set.
Typically this is used to define an active use period and a downtime period, which allows you to have a low-light scene used when everyone is asleep, such as a nightlight or dimmer path lighting scenario.
I’ve set up the sensor in our patio to drive some Hue Calla and Lily outdoor lights. As we might be entertaining until around midnight, I’ve set the day period to run from 8am and finish at 1am. During this time the lights will be set to a suitably warm and colorful entertaining scene. Between 1am and 8am they’ll use the default Nightlight scene just to provide some subtle illumination to avoid tripping over anything.

Hue Motion Settings
The time blocks and scenes define what to do, but when they are triggered is defined by the motion sensors overall settings for light and motion sensitivity. The defaults for these two are reasonable, but I tend to turn down both a little to optimize when the lights come on.
Setting the desired level of light sensitivity is pretty easy, as the slider will change color to tell you if the lights will trigger at that setting based on the current reading. To get the right level, do this at about the time of day you’d want to lights to kick in, and adjust the slider down until it turns orange (no trigger), then move it up slightly so it turns green again.
Motion sensitivity is a bit trickier, that’s just trial and error. If you find it going off too much, or not enough, adjust the slider as required and try it for a while.
The final setting you can tweak is the After time period. This is the setting that controls when the lights will turn off. You can choose from a list of preset values ranging from 1 minute to 60 minutes. If you choose one that is too short, you may find the lights are turning off while people are present, especially if they will typically be seated for long periods.
The sensitivity should be sufficient to notice small movement in it’s field of view and avoid this, but to be sure I set it to 15 minutes. That’s long enough to catch some motion and short enough to not leave the lights on unnecessarily.
A nice feature of using Hue lights with this system is that any dimmable lights in the room group will dim for one minute before turning off. That gives you a warning to make some movement before you’re plunged into darkness, and is something that’s harder to achieve if controlling lights through a third party system.
Real World Usage
I’ve had the sensor installed in my patio for over 6 months, and it’s been exposed to long periods of extreme sun and heavy rain. My patio has a slat roof for shade rather than a solid one, so the sensor is fully exposed to the sky in it’s current position. It’s held up admirably and never missed a beat.
The IP54 rating, which means it’s able to withstand dust and water from all directions, ensures it hasn’t had any issues with exposure to the elements. That level of ingress protection is not suitable for immersion, but as you’d typically have this mounted up high for maximum effectiveness it should be an issue.
As I’m using it to drive Hue lights, both in the gardens and some wall fixtures, it hasn’t had any signal strength issues. The lights are all mains powered, and thus are able to act as ZigBee repeaters, so there’s plenty of coverage for the sensor to use. The low powered ZigBee radio in the sensor should be good up to about 30m (100ft) in line of sight, assuming no significant interference, but you’d be best to assume about a third of that to the nearest Hue light to guarantee reliability.
I do have a HomeKit setup as well, so the built-in temperature sensor appears in there. As the sensor is both exposed to sun and attached to a steel pole, the reading during the day is typically high. Being black plastic it soaks up the heat, so it has been a bit useless. In a more protected position, however, it would give a reasonably close-to-accurate reading the same as the indoor version.
In terms of motion, it’s very sensitive. I have the sensitivity turned down to about 25%, but it will easily trigger on relatively small objects moving in the patio area (a beach ball rolling across for example). The PIR has a 160 degree horizontal view, and a 80 degree vertical one (downwards from the shade cover ). That means it will have no trouble keeping the lights on over a wide area, but many folks have complained that they can’t prevent it picking up unwanted movement.
You can’t angle the sensor away from such areas, or reduce the field of view. The best hack for this issue is to use black electrical tape to cover part of the sensor window. For me it hasn’t been an issue as I positioned the sensor so it was pointing into the desired area and has it’s back to the approaches, but you may not have the option. Careful consideration of placement, especially if mounting in view of the street, should prevent these issues in most cases though.
Don’t worry about the battery aspect. Zigbee has extremely low power requirements, and after this duration of pretty regular use it’s still showing 100%. You should easily get two years or more out of the two AA batteries. Changing them is a bit cryptic, though. It doesn’t have clear instructions on what to do and there’s no obvious battery cover to remove (for water protection). You need to remove the four screws from the back of the sensor, and pull it free with the top two.
Alternatives

Eve Motion
✔ IPX3 Rated for outdoors
✔ Long Life wireless operation
✔ Works with HomeKit and Hue lights
✘ Bluetooth limits range for outdoor placement
✘ Narrower FOV, especially downwards
✘ No corner mounting options

This motion sensor from HomeKit exclusive device maker Eve Systems offers a possible outdoor solution. Obviously it only works with HomeKit, so only Hue users with that system can make use of this. It will also work with any other HomeKit compatible lights or other devices.
The sensor itself has proven very reliable, but does have limitations based on using Bluetooth for communications. Range being the key one, as you will need to have it within about 10m (30ft) of an Apple Home Hub device (Apple TV or HomePod). Response time can also be a bit slow, but thankfully Eve have a bridge that significantly improves things on this front.
A more limited field of view could be a pro or a con, depending on your placement scenario. You’ll have less issues with too much triggering, but it won’t pick up activity below it as well, and it doesn’t come with any corner mounting options.
Weather resistance will also limit placement as IPX3 is OK for some moisture, but not full exposure to rain.

Zoos Z-Wave PIR
✔ Outdoor rated with long battery life
✔ Configurable light level triggering
✔ Easy install with swivel mount
✘ Required a Z-wave hub
✘ Not rated for direct rain exposure
✘ Only works with some Z-Wave controllers
While this device needs a Z-Wave hub, it may be a viable option if you have that capability. Most Z-Wave motion sensors aren’t out door rated, but Zooz claims to be the first with their Outdoor PIR. Even so, it’s not rated for full weather exposure and needs to be in a more sheltered position than the Hue sensor can handle.
Installation is easy, with two screws to mount the swivel mount to the wall. That then gives you some more control over where to detect motion. Further control is provided by motion time-out and light level knobs on the device itself.
It works natively with HomeSeer, Hubitat, Fibaro, and Vera, and SmartThings with a custom device handle they can provide for you. It doesn’t support Wink, Ring, ADT, or other Z-Wave alarm panels though.
You’ll be able to control any lights supported by your Z-Wave hub, so it will depend on what integration you have in your smart home setup. If you want to control Hue lights, you’ll also need a setup that support ZigBee, or integrates with Hue directly.
The Verdict
Being able to have your outdoor lighting automatically respond when you go into an area is not only a convenience, but provides safety and security benefits, and could also save the need to install additional switching. But for this to work, it needs to be responsive and reliable.
The Philips Hue Outdoor Motion sensor delivers on all counts, and provides a set of configurable behaviors that exceed many other motion sensors, indoor or out. Not only can you turn the lights on when you need them, but you can manage multiple rooms, set different scenes based on time of day, and control the ambient light level where you want the lights to come on.
The use of ZigBee for communication means you’ll need a hub, but if you’re using Hue lights you probably have one already. Plus the hub gives you very fast respond time, the ability to extend your placement range by using your existing Hue lights as repeaters automatically, and you’ll get super long battery life to boot.
If you’re a Hue lighting fan, and want to extend your lighting outdoors, this device is a no-brainer.